Hammer handle
A while ago I found this little ball-peen hammer in an antique store, it had a handle at the time but it ended up breaking with use at the thinner part. The head sat in my tool chest for a couple years until recently when I started to work on my new tool chest project .
With this new motivation to get all my tools together in a new home, I wanted to give this little guy a new handle.
First step was to pick the wood I would use for it. I settled on white oak because it’s easily accessible here in Montreal, really dense and sligthly flexible and I just love the grain pattern of it.
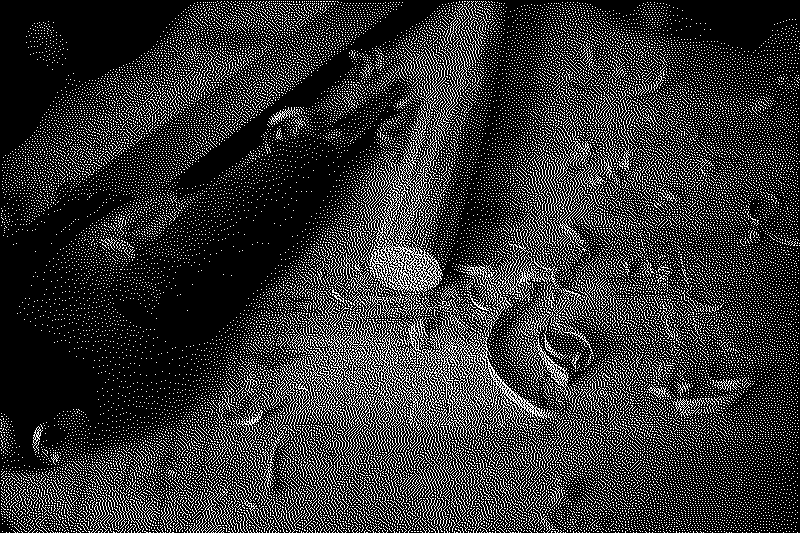
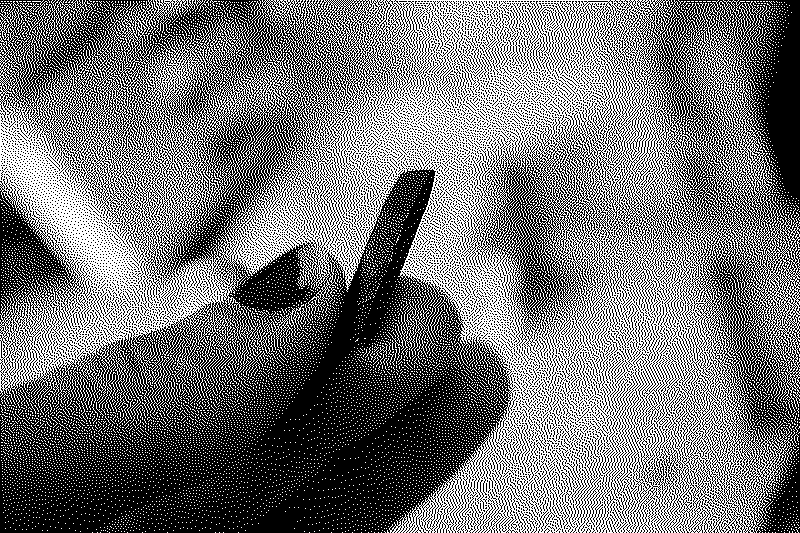
The longest and trickiest part of the process is definitely shaping and smoothing the curves of the handle. I used a succession of tools to do so:
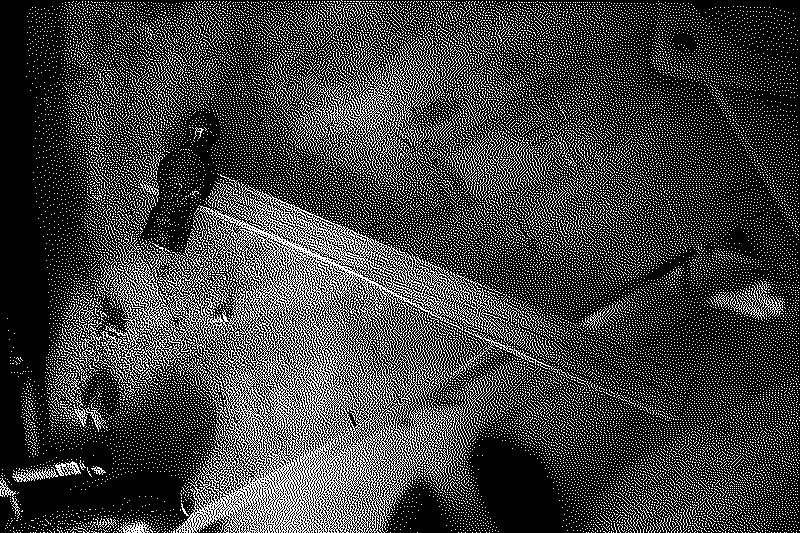
- a draw-knife to remove the big chunks and rough out the shape, following the grain
- a small sharp carving knife to get the shape closer to it’s final shape and getting rid of the most obvious high spots
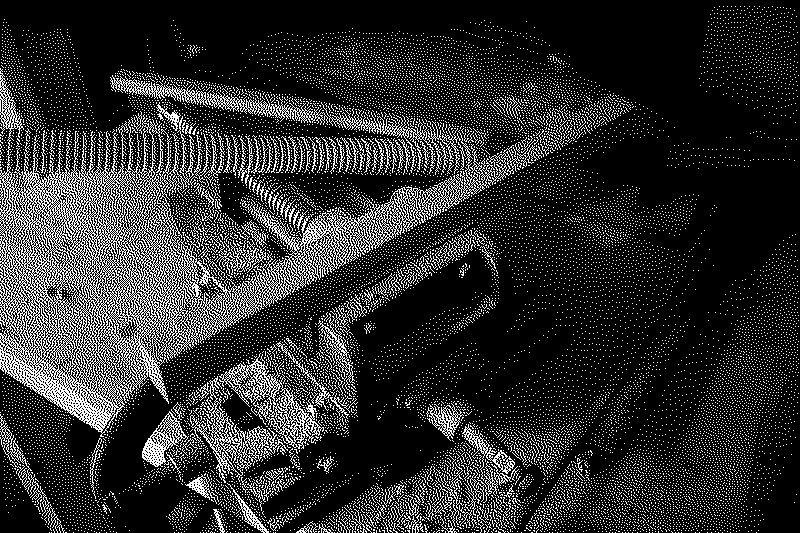
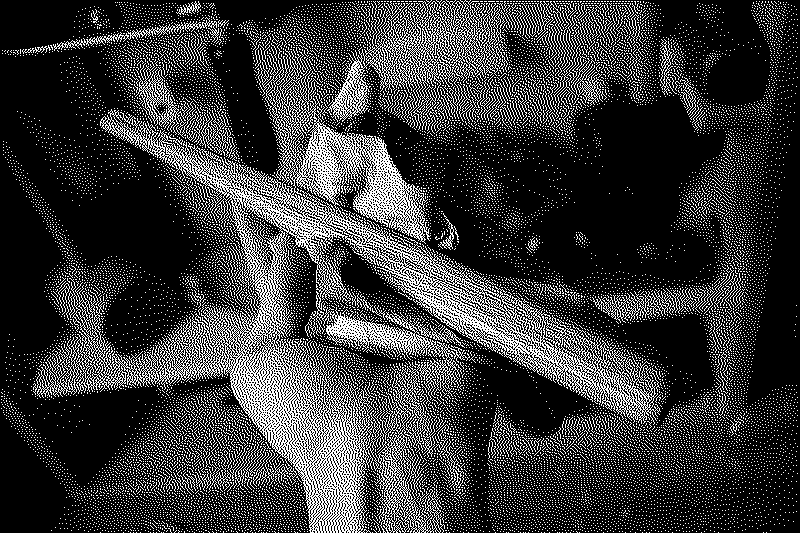
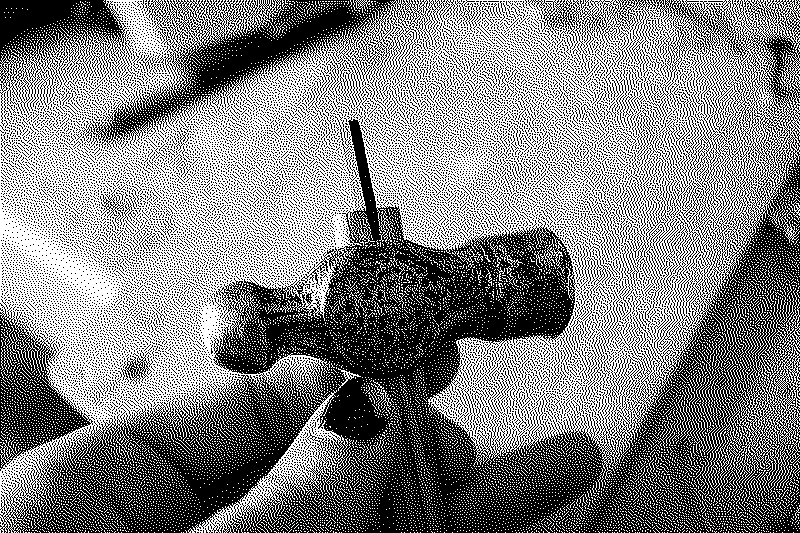
Once the handle was really close to it’s final form, I switched to a large file and different grit of sandpaper to smooth everything out. The best way I found to check my work was to look at it from different angles and from the end under a harsh light to see where there were still irregularities. At that stage I also cut the slot that would contain the wedge locking the head in the final assembly. I cut it deeper than the hammer head itself knowing that I would push it deeper and trim the excess.
Then, the handle was oiled with 3 coats of linseed oil, with some sanding with some steel wool between each coat.
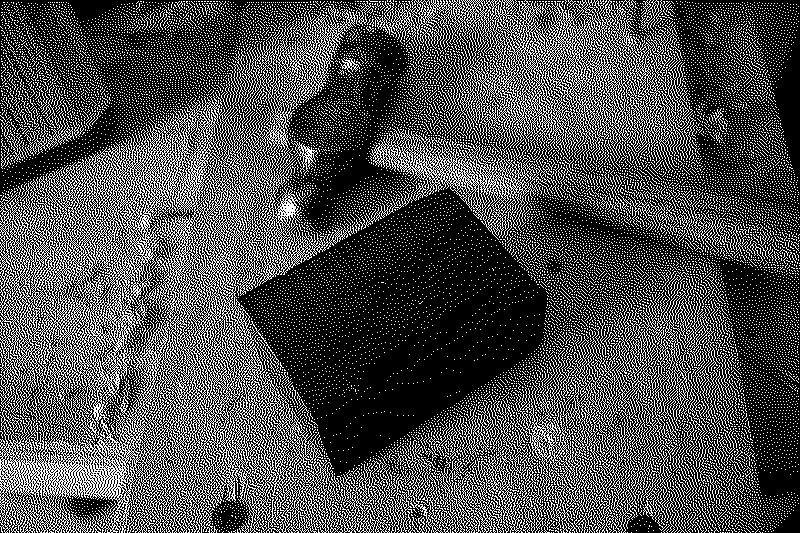
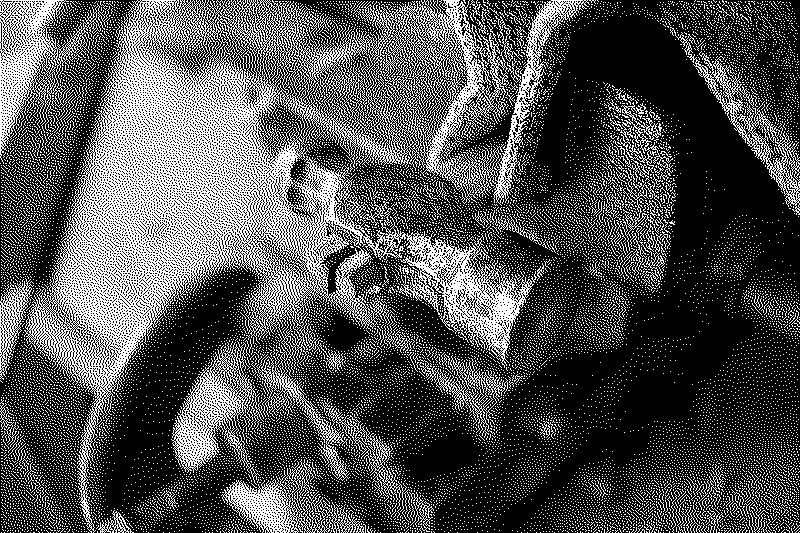
To make the wedge I used a little block of ebony wood I had lying around. I would not recommend buying new ebony wood since the species is endangered but walnut would make a good alternative. The important aspect is that the wood be really hard and dense.
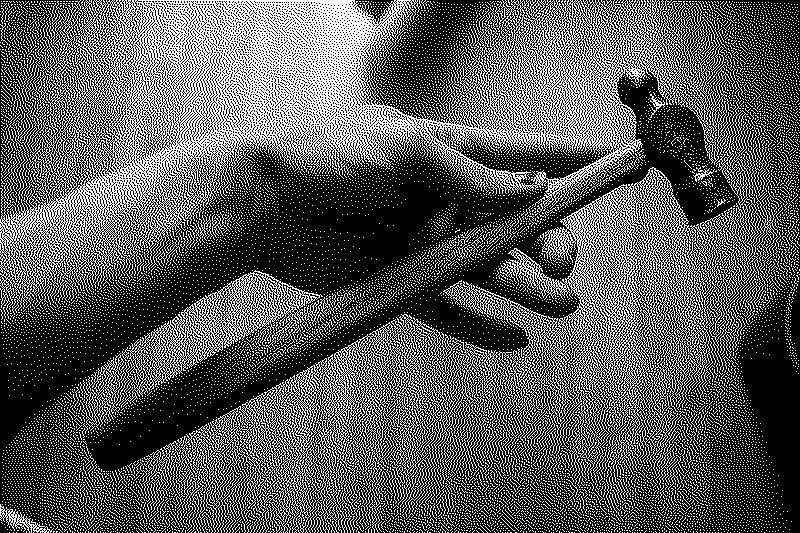
I cut it with my Japanese saw to the good size and tapered the end by running it against a big machining file. I then put the head of the hammer on there, tapping the bottom of the handle really hard on my worktable while holding the head to push it down the handle. when it was in place I inserted the wedged and then tapped the whole hammer with its head down on the table to drive it into place.
After making sure the head was locked in place, I trimmed the excess with the Japanese saw and sanded and oiled the end of the handled now embedded in the head.
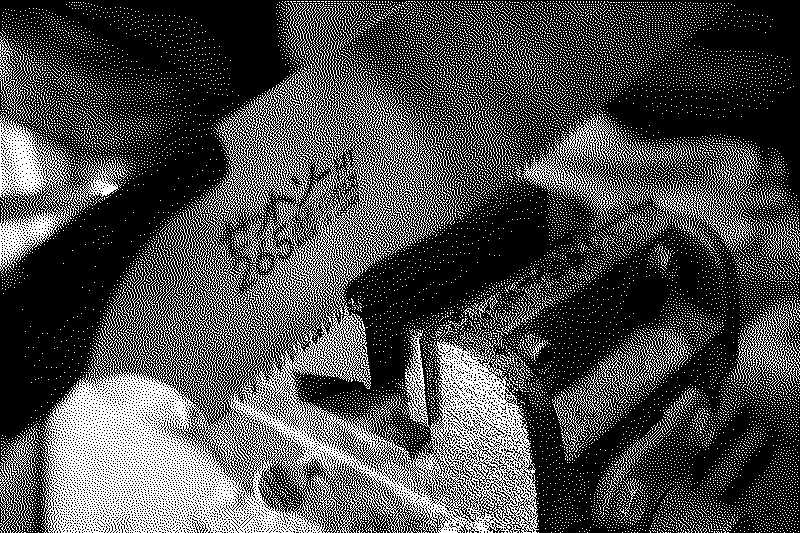
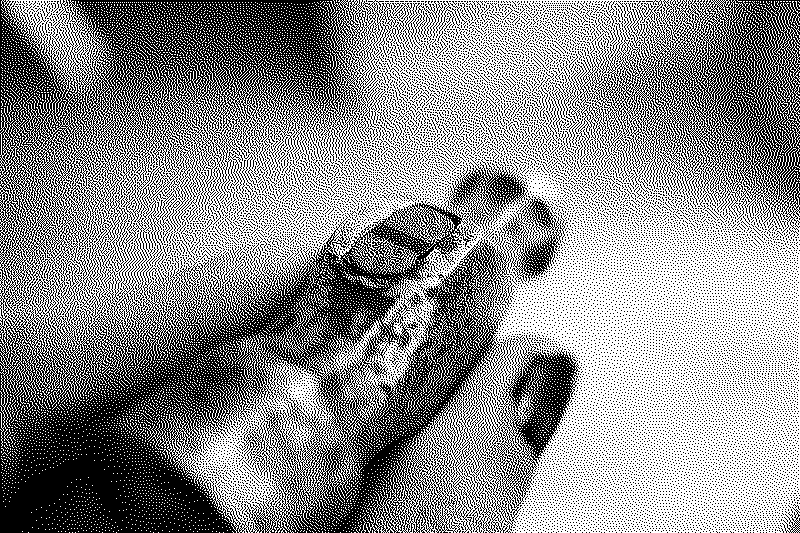
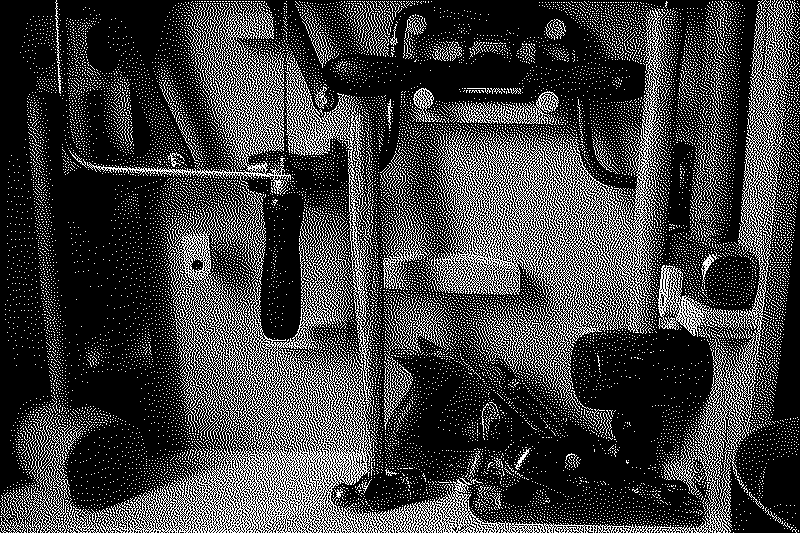
Here is the final hammer in company of his friends in my tool chest in progress.